


Tag Archives: 7 Days to Die
7 Days to Die Day 119 Blood Moon
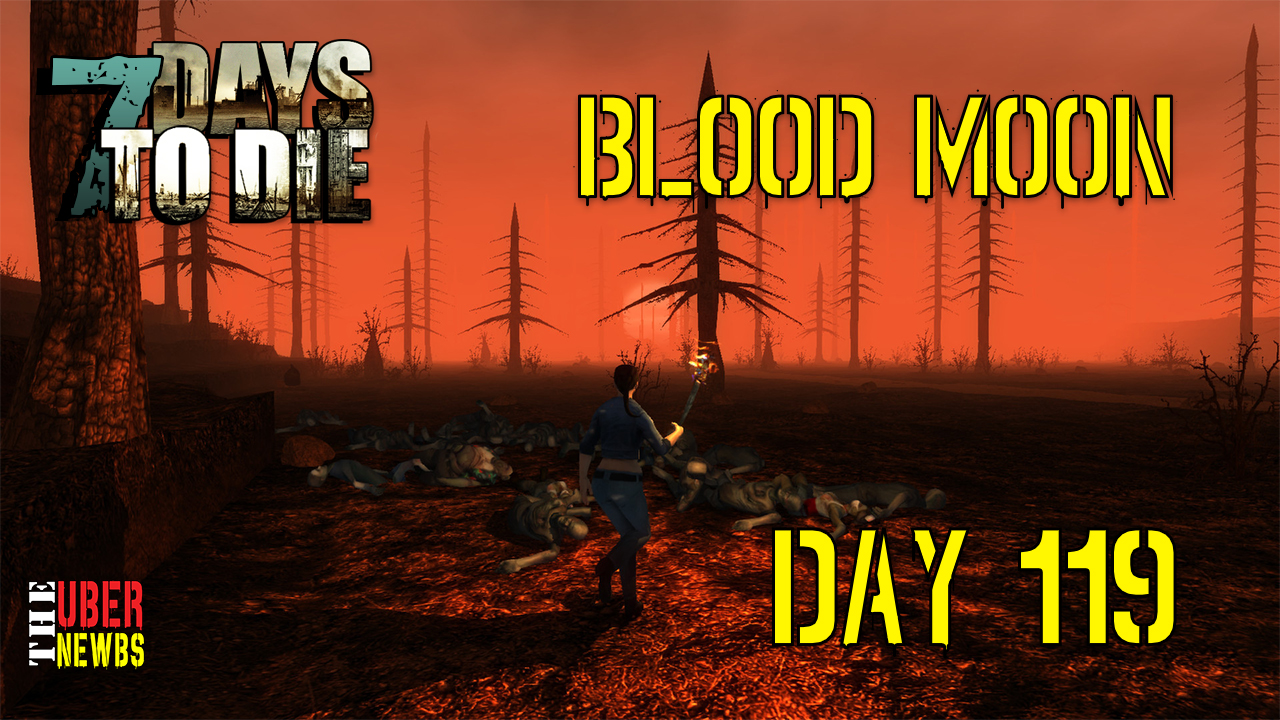
7 Days to Die Day 119 Blood Moon
The Uber Newbs returned to their fortress to prepare for the Day 119 Blood Moon. In an attempt to get the most zombies possible, Sparta and Tadradan announced the coordinates to the newb fortress in hopes that other players on the server would join them in the foray, only to return to the base and find it decimated…minutes before the Blood Moon begins!
With no other options available, the newbs try and fend off the waves of Blood Moon Hordes behind what remains of their defenses. How many will make it through the night? Watch the video below and see for yourself!
7 Days to Die Zombie Information
7 Days to Die Zombie Information
Are you looking for information on the zombies in 7 Days to Die? Well you came to the right place! Here is a gallery of infographics that you can use freely to help you on your journey through 7 Days to Die. The information in these infographics is based on Alpha 15, and will be updated as new releases come out.
We will work on getting more detailed information for the zombies including a more detailed list of loot available for each one as time permits. For now, please anjoy these infographics and let us know what you think of them!
7 Days to Die Navezgane Map

7 Days to Die Navezgane Map
Navezgane is one of two maps that you can play on right now during the 7 Days to Die Alpha 15. Navezgane is a static map, unlike the random generated map. The biggest deal with Navezgane is that it has certain POI’s (point of interest) that are not yet available in the random generated map. Some examples are:
- The Canyon
- Football Stadium
- Canyon Gift Shop
- The Indian Cliff Village
…among others. The only downside to playing navezgane on a public PvP server is that everybody knows where certain buildings/areas are that hold the good loot or the good zombies that drop good loot. If you don’t…well, here you go:

Navezgane Map generated using Alloc’s Server Fix with POI Labels
This map was generated from our server using Alloc’s server fix. I’ve added labels for many of the POI’s to help identify them, and will update as time permits.
Chemistry Stations and Cement Mixer in 7 Days to Die Alpha 15 A15
Chemistry Stations and Cement Mixer in 7 Days to Die Alpha 15 A15
We covered the most elaborate crafting stations already, but these last two crafting stations are no less important! The chemistry station, for instance, allows you to craft medicine using less materials as well as refine oil shale into gasoline. The cement mixer is the only way to make concrete mix allowing you to better fortify your base. Fertilizer can be produced by hand, or at a chemistry station or a cement mixer, but all three methods use different materials! Better yet, the cement mixer and chemistry station don’t require human turds to make fertilizer so you can stop searching for toilets!
These two are listed last in our series because they will most likely be the last two crafting stations you would make anyways due to the rarity of the materials needed (plus you need a workbench to make them). The Chemistry station requires 2 beakers and 3 pots in addition to other materials, while the cement mixer requires a small engine. When you do finally come across a small engine, you have to ask yourself…cement mixer or mini bike?
Rumor has it that small engines and mechanical parts are easy to come by once you have a wrench and dismantle cars and other machine with it as opposed to just beating it with a sledgehammer…but until that rumor is confirmed you should watch the video below about these last two crafting stations!
How to use the Workbench in 7 Days to Die Alpha 15 A15
How to use the Workbench in 7 Days to Die Alpha 15 A15
The workbench is another crafting station in 7 Days to Die that helps you to craft more items, but is also required to build certain items (like the chemistry station, cement mixer, and draw bridge). The workbench has another unique characteristic though, as it is the only way to make items with quality level 600. Item Quality 600 is currently the max, but if your skill in toll crafting is at 100, you will only make item quality 500, not 600.
To upgrade the quality of your items (tools, weapons, armor, etc.) you need to combine them with the same items at a workbench. A sledge hammer cannot be combined with a hammer, only another sledge hammer.
Seeing as this game is still in Alpha, what would be nice to see is if you can make something different by combining two items as opposed to just upgrading the quality. Like combining a bone shiv with a club to make some type of lethal spike club…in the mean time, check out the video below to see how the Workbench in 7 Days to Die Alpha 15 works!
How to Farm in 7 Days to Die Alpha 15 A15
How to Farm in 7 Days to Die Alpha 15 A15
Farming in 7 Days to Die is one of the best ways to become fully self-sustainable! But you can’t just plant seeds wherever you want and expect to get productive results. Different methods produce different results. In earlier versions of 7 Days to Die you always got a higher output from crops because you get more seeds from items. Corn used to produce 4 cord seeds, but now with a 1-to-1 ratio, you really need to work the land.
Fertile land produces the best results, 4-to-1 on average. That is, 4 potatoes from 1 potato seed. Corn yields 5 ears of corn on fertile ground, 3 ears of corn on tilled ground and 1 ear on any other surface.
Find yourself a nice plot of dirt and bust out your garden hoe! In the video below, Tadradan shows you how to properly setup a farm and the results of growing on different types of dirt.
7 Days to Die Crafting Basics Alpha 15 A15
7 Days to Die Crafting Basics Alpha 15 A15
Crafting in 7 Days to Die can be both simple and complicated, as this is still in Alpha there are some small nuances which we will go over later. The basic principles behind crafting is you need the proper materials and crafting station/tools. In the beginning of the game you start with almost nothing of use other than food & water to get you through the first 24 hours. Naked, cold and lacking the ability to defend yourself, you immediately begin frantically searching for materials.
To help you understand the crafting system, “The Fun Pimps” start you out with a simple quest line. You first quest is to craft a small stone axe, which will be your most useful tool for the first 7 days (unless you get really lucky). The first step is to gather the needed resources: Fiber from grass, wood and small stones. Now you have a tool to help you get more materials…and break open doors!
Crafting and gathering are key components of this game, and in our “Crafting Series” we cover all of the details of the crafting system and various workstations required to produce high-end gear and tools.
How to Mine in 7 Days to Die Alpha 15
How to Mine in 7 Days to Die
Mining in 7 Days to Die is tedious work, but has great long-game benefits! Mining is the best way to obtain large amounts of raw minerals, and with the proper crafting stations can be turned into a revenue generating operation or used to boost your player’s survivability!
The deeper you go, the more abundant the resources are (and the more likely you are to find rare materials). Common materials are Iron, Oil Shale, Coal, Nitrate Powder and rare resources like Gold and Silver. Digging a mineshaft down to bedrock is a great way to mine without fear of being detected by Zombies. You are deep enough that they cannot hear, smell or sense you, though we have not tried mining during a blood moon.
In the video below, Tadradan shows you how various mining tools work … with explosive results!